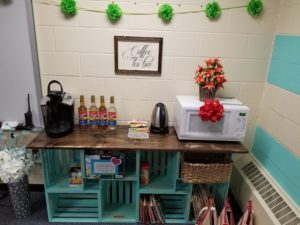
This crate console table came together super quick – just 1 day to assemble and another day to finish!
Materials:
8 wooden crates (we got ours from Home Depot)
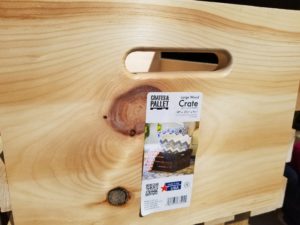
2 8-inch common boards (We wanted the top to be wide enough for a coffeemaker and microwave so we decided to join 2 8-inch boards. The 10-inch alone wasn’t going to be enough. Depending on your needs, using a single 10-inch board would be faster).
1 inch screws
sander
paint
stain
polyurethane
First, we did a light sanding of the crates. Then arranged them in alternating orientations. Put a little wood glue between each and clamped them down.
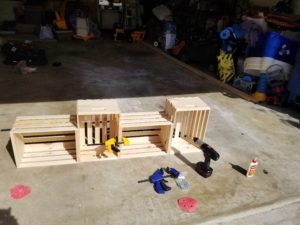
While the glue was still drying, we drilled 4 1-inch screws between each crate.
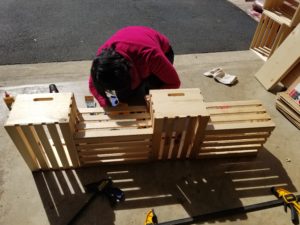
Repeat for the second row, but this time drill down to the bottom crates also.
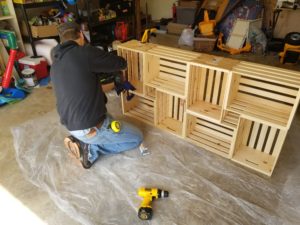
Next, place the common boards on top and figure out how long you want the top to be. We measured a little overhang with a speed square and cut both boards (one at a time).
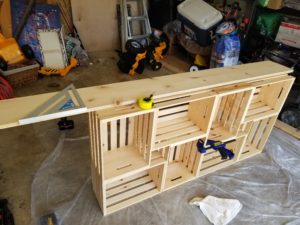
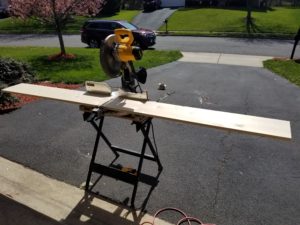
While the hubs cut and sanded the common boards, I painted the crates. I did not do a thorough painting job because I wanted a worn look and knew we’d go over the paint with the sander again after the paint was dry. In the picture, the two mini square spaces between the two rows aren’t painted – I did paint them eventually. Once the top was ready, we put some wood glue between the two boards and clamped them together.
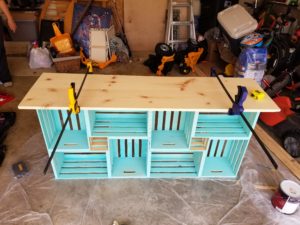
While the glue dried, we drilled 1-inch screws from the crates to the top: 4 from each horizontal crate, 2 from each vertical crate.
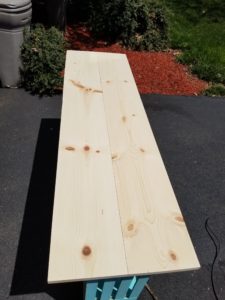
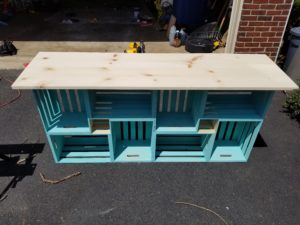
The hubs planed the top a little to make it flush. Then we sanded it.
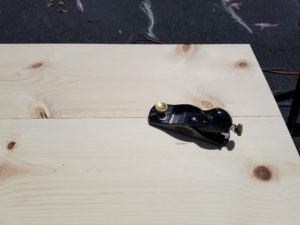
Next the stain – while we were applying it, we were worried it might turn out too dark but I love it! We used minwax (color: Espresso).
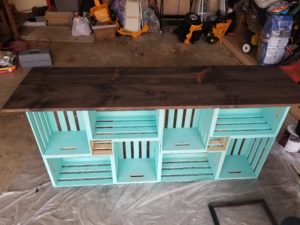
After the recommended time, we applied a coat of polyurethane, waited the recommended time and applied another.
I love the juxtaposition of the light and dark. All this, in day 1! So fast and easy, right?
Day 2:
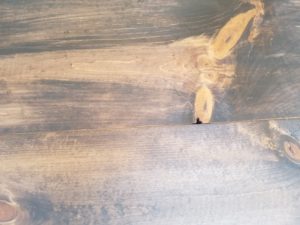
We accidentally sanded the top with a rougher sandpaper than we wanted to and ended up stripping some of the polyurethane and stain off the wood. Oops! But it actually played into that worn look we were going for so we decided to strategically sand the top in other areas as well.
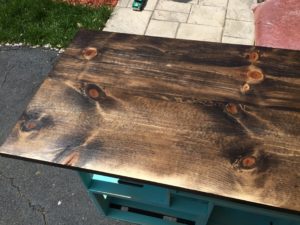
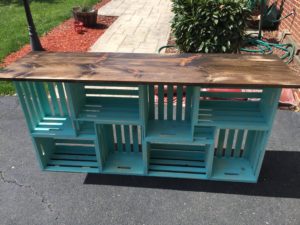
And we sanded all around the painted crates too. I’m in love. This is not for us but we will have to build another one to keep.
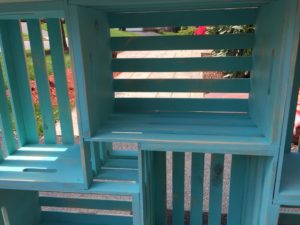
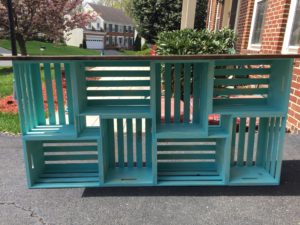
It came together quickly and looks awesome. Let me know if you make one too.